

Create & send a campaign
A campaign is one or more emails delivered to a set of recipients on a schedule, and it's how you reach your audience at exactly the right moment. optyflo's wizard walks you through it in six steps — the progress bar reads Create Campaign with Step X of 6 and the labels Campaign → Templates → Schedule → Recipients → Variables → Review.
Before you start
- SMTP must be connected or nothing delivers. If it isn't, the wizard shows an SMTP not connected banner — "optyflo can't deliver emails until you connect an SMTP provider. Set it up once and every campaign and automation will use it." — with a Connect SMTP button.
- You need at least one email template (or generate one with AI in Step 2).
- You need at least one recipient.
To begin, open New Campaign from the sidebar, click the + New Campaign button, or go to the route /client/new-campaign.
Step 1 — Name your campaign
Enter a name and click Continue →. This first step is titled Name Your Campaign — "Give your email campaign a memorable name". The name is purely internal, so pick something you'll recognize in your campaigns list later; recipients never see it.
Type into the Campaign Name field (placeholder "e.g., Holiday Sale 2024"), then click Continue →.
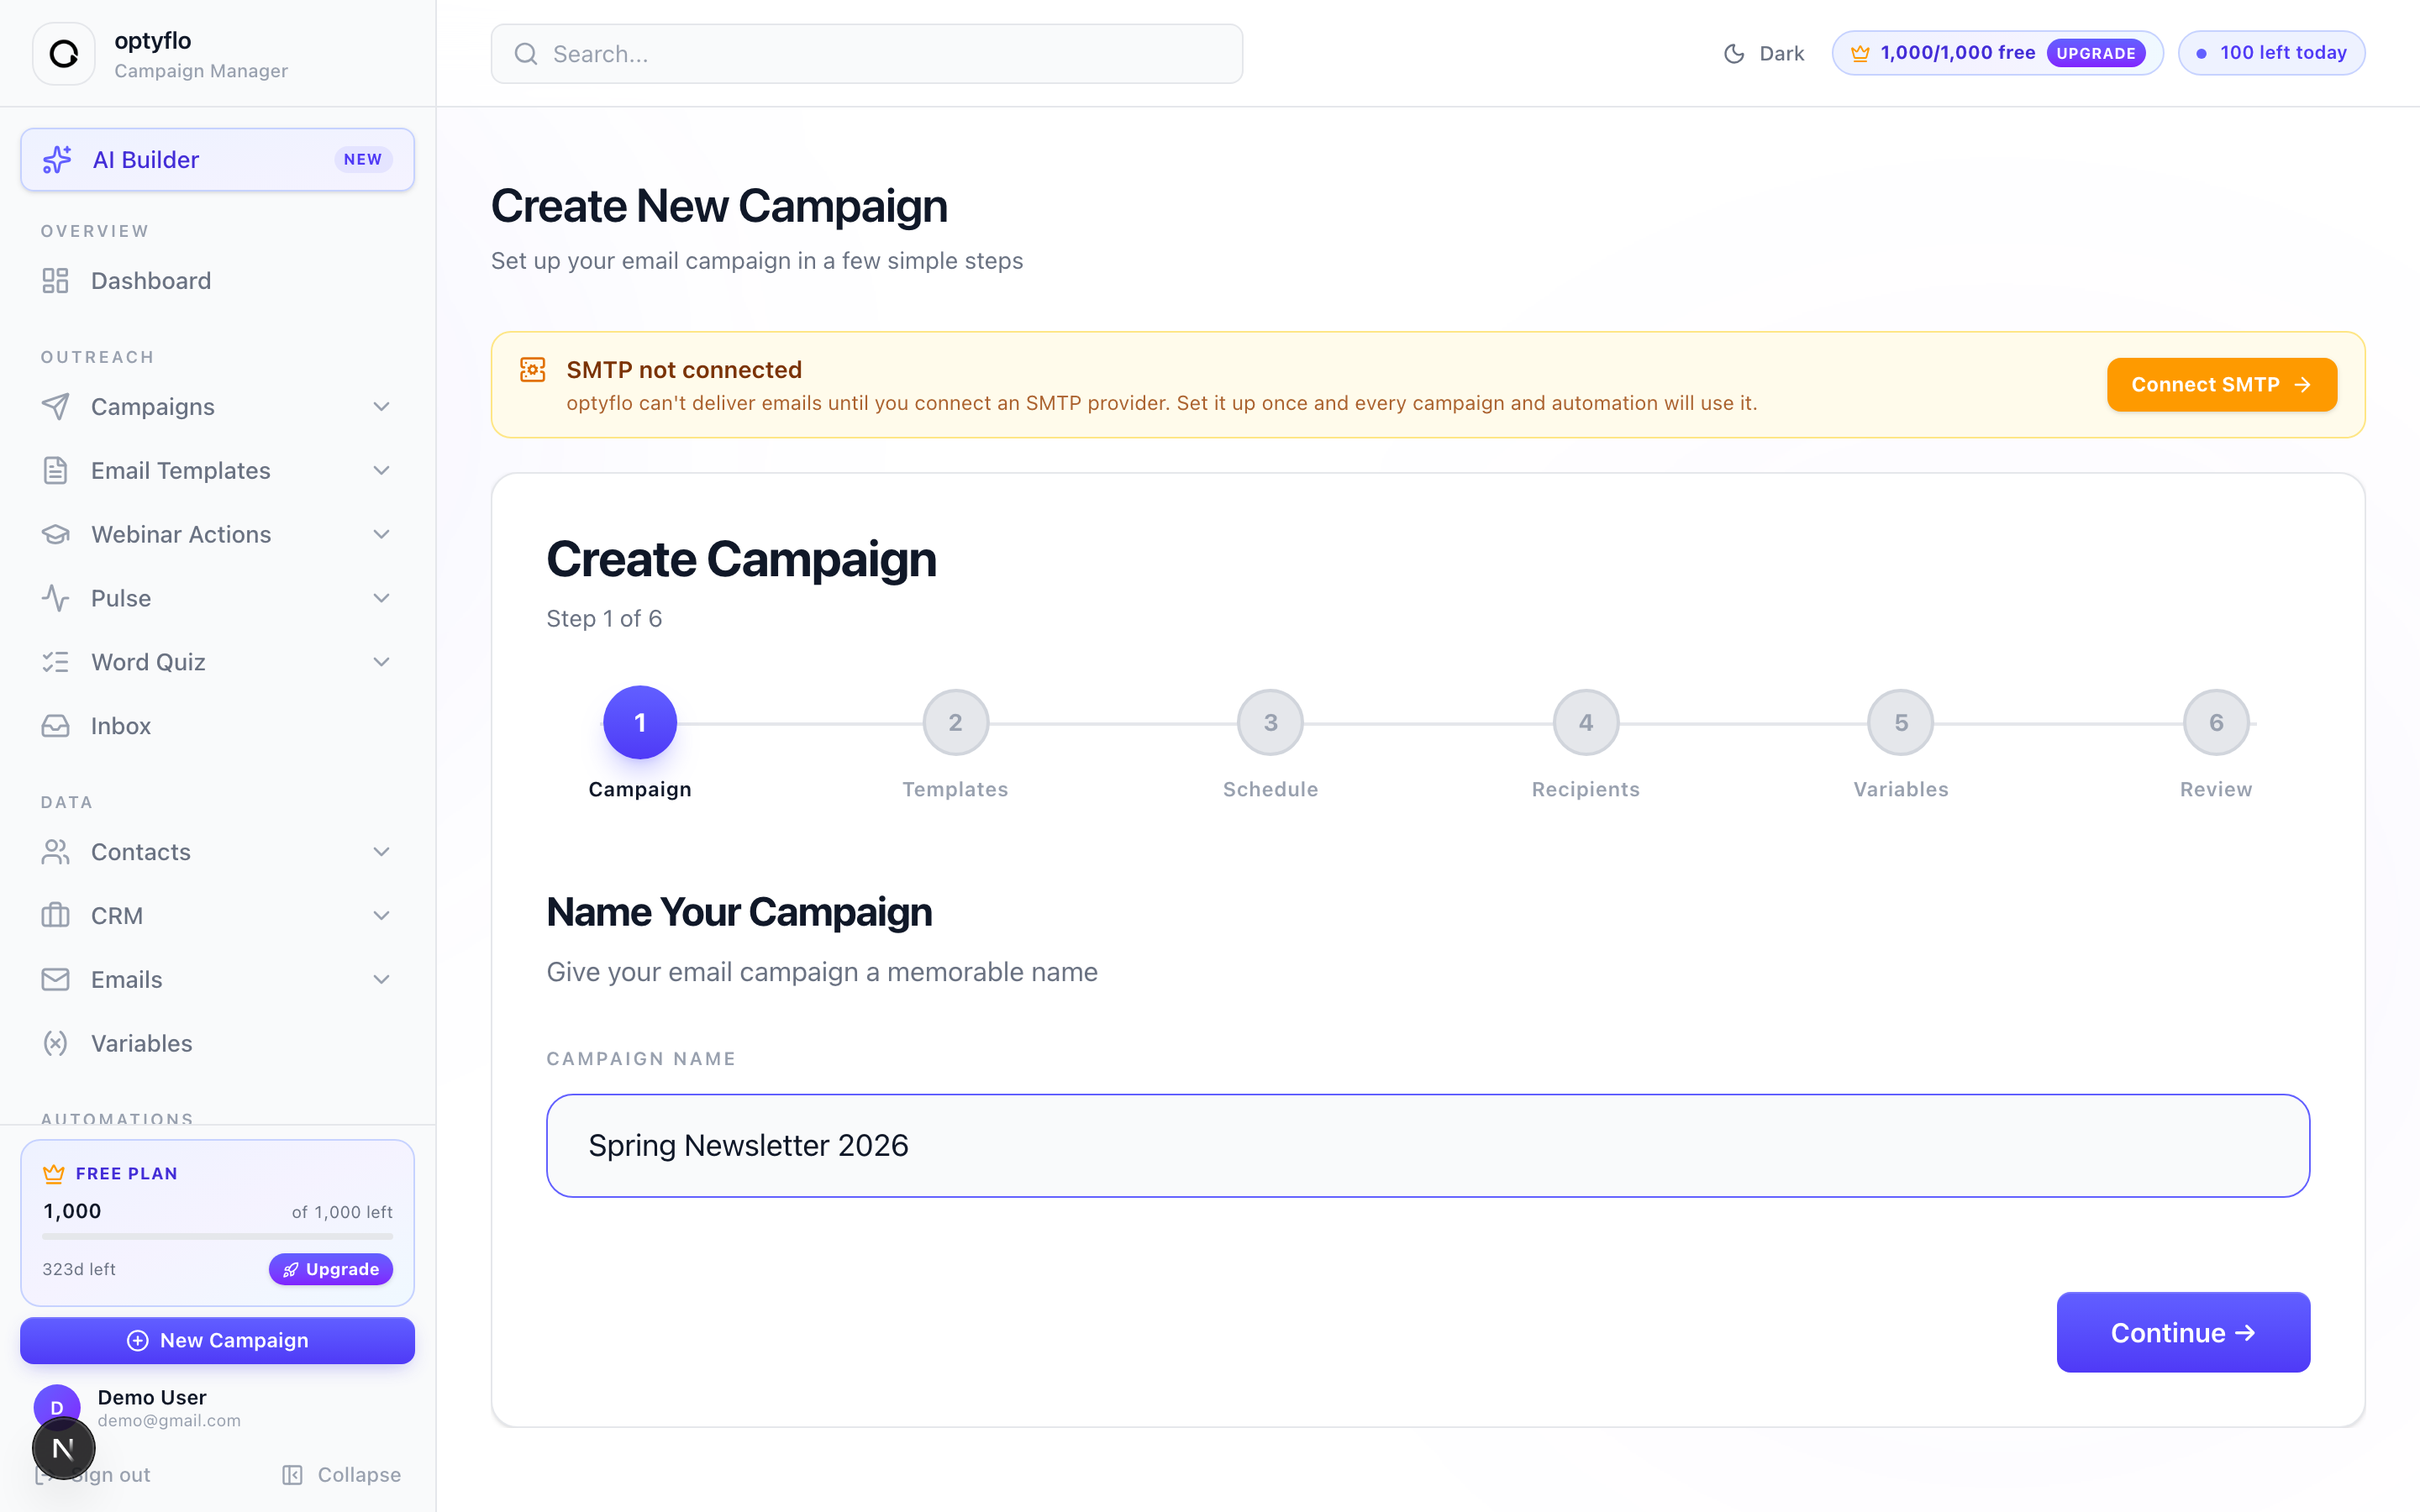 Give the campaign a memorable, internal-only name.
Step 2 — Select email templates
Choose the emails this campaign will send. This step is titled Select Email Templates — "Pick individual templates, or launch a saved Template Group sequence". Toggle between the two modes depending on whether you're sending a hand-picked set or a pre-built sequence.
| Mode | What it does |
|---|---|
| Individual Templates | Filter by category and pick templates one by one. Each card has Preview Template and a Select / Remove button. |
| Template Group | Launch a saved sequence — each template fires at its own configured offset from the group start. |
The very first card is Generate with AI. It opens the AI email generator so you can create a brand-new template right here without leaving the wizard — see Write an email with AI.
No templates yet?
If your library is empty, this step shows only "No templates found. Please create templates first." with a ← Go Back button — the template cards (including Generate with AI) appear once you have at least one template. Create one first with the AI generator or the visual builder, then come back to this step.
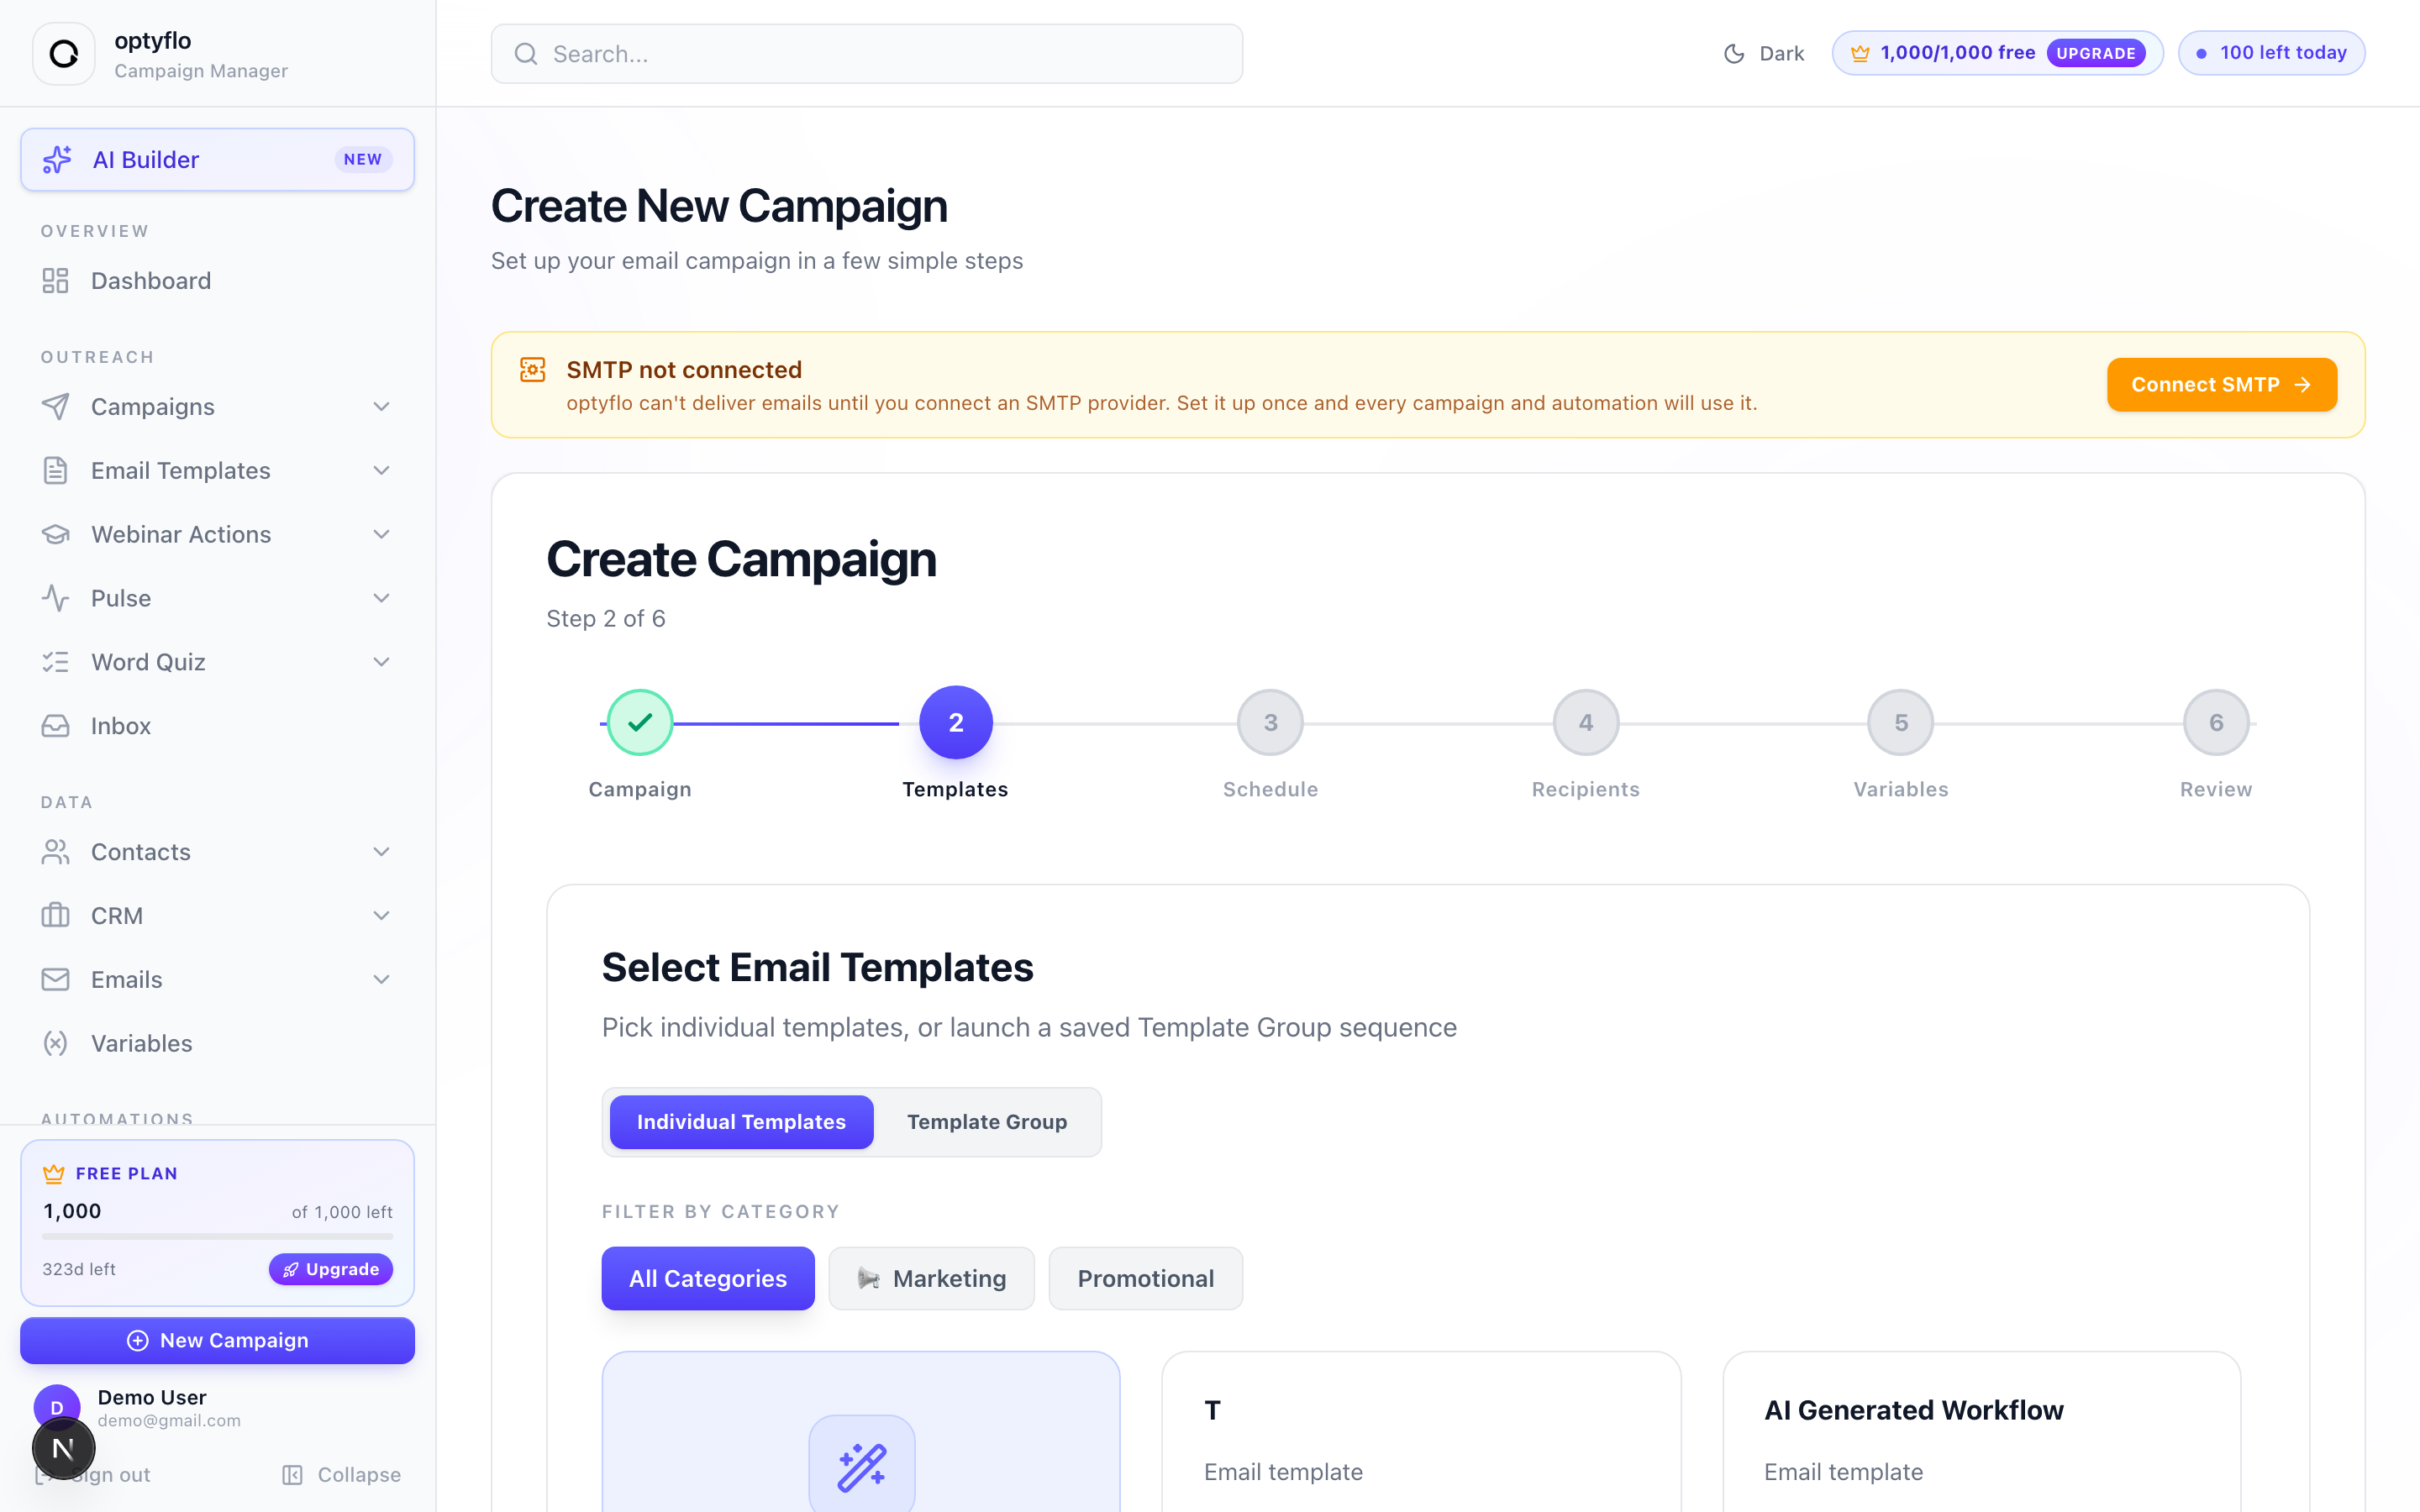 Pick individual templates or a Template Group; the first card generates one with AI.
When you've picked your templates, click Next: Set Schedule → (or ← Previous to go back).
Step 3 — Set the schedule
Choose when each email goes out. This step is titled Set Schedule — "Choose when each template should be sent (future dates only)". Scheduling ahead means your emails land at the best time for your audience, not just whenever you happen to be at your desk.
- Individual templates — each template gets its own Schedule Date * and Schedule Time *.
- Template Group — you set one Group Start Date * and Group Start Time *, and each template fires at its configured offset from that start.
There is no "send now"
Every campaign is scheduled for a future time — you cannot send instantly. Pick a date and time ahead of now for each template.
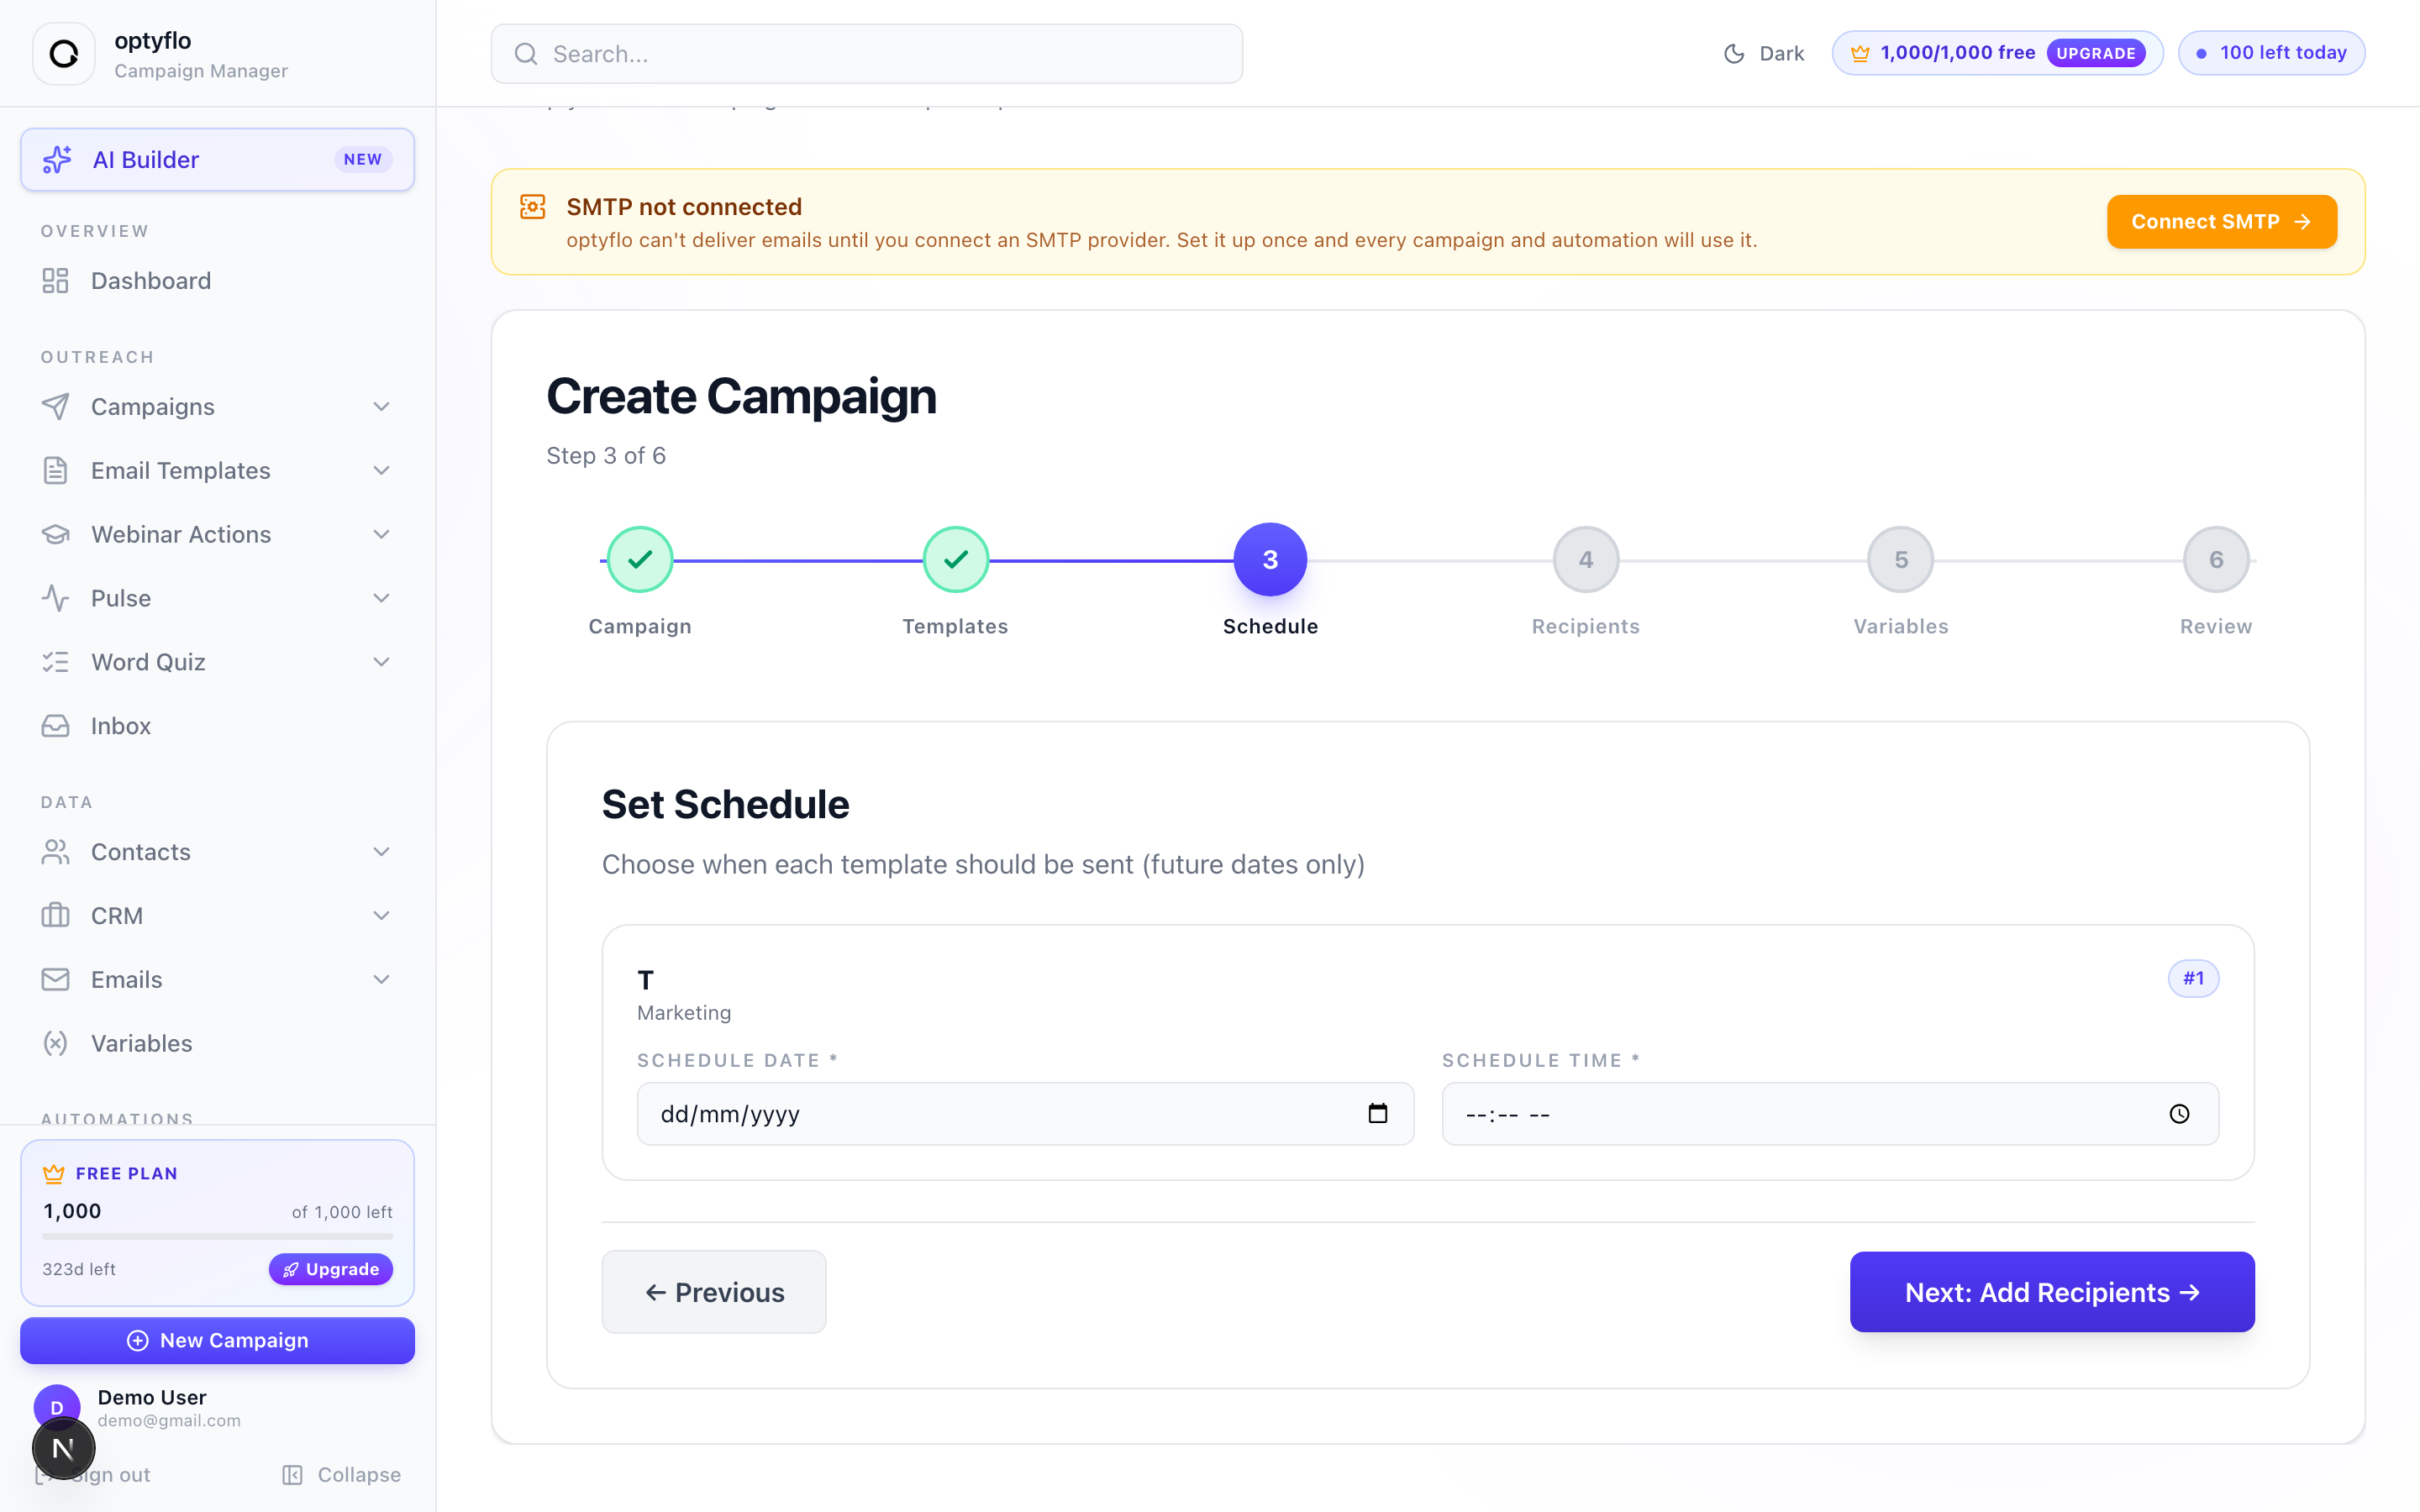 Set a future date and time for each template (or one start time for a group).
Click Next: Add Recipients → to continue.
Step 4 — Add recipients
Decide who receives the campaign. This step is titled Add Recipients — "Select contacts from your database, upload a CSV file, or add recipients manually". You need at least one recipient to continue, and you can mix and match across the three tabs.
| Tab | How it works |
|---|---|
| From Contacts | Search ("Search contacts...") and choose via Individual Selection or Bulk Add (Groups/Tags). Use Select All Visible (N selected), then Add N Contact(s). Empty library shows "No contacts found in your database." with an Add contacts → link. |
| Upload CSV | Click Choose CSV File to upload a list just for this campaign. Required columns are name and email — grab the format from Download Sample CSV. |
| Add Manually | Enter recipients one at a time: First Name *, Last Name, Email *, Phone (optional), Tag (optional), then click + Add Recipient. |
As you add people, a Recipients (N) list shows exactly who's included so you can double-check before moving on.
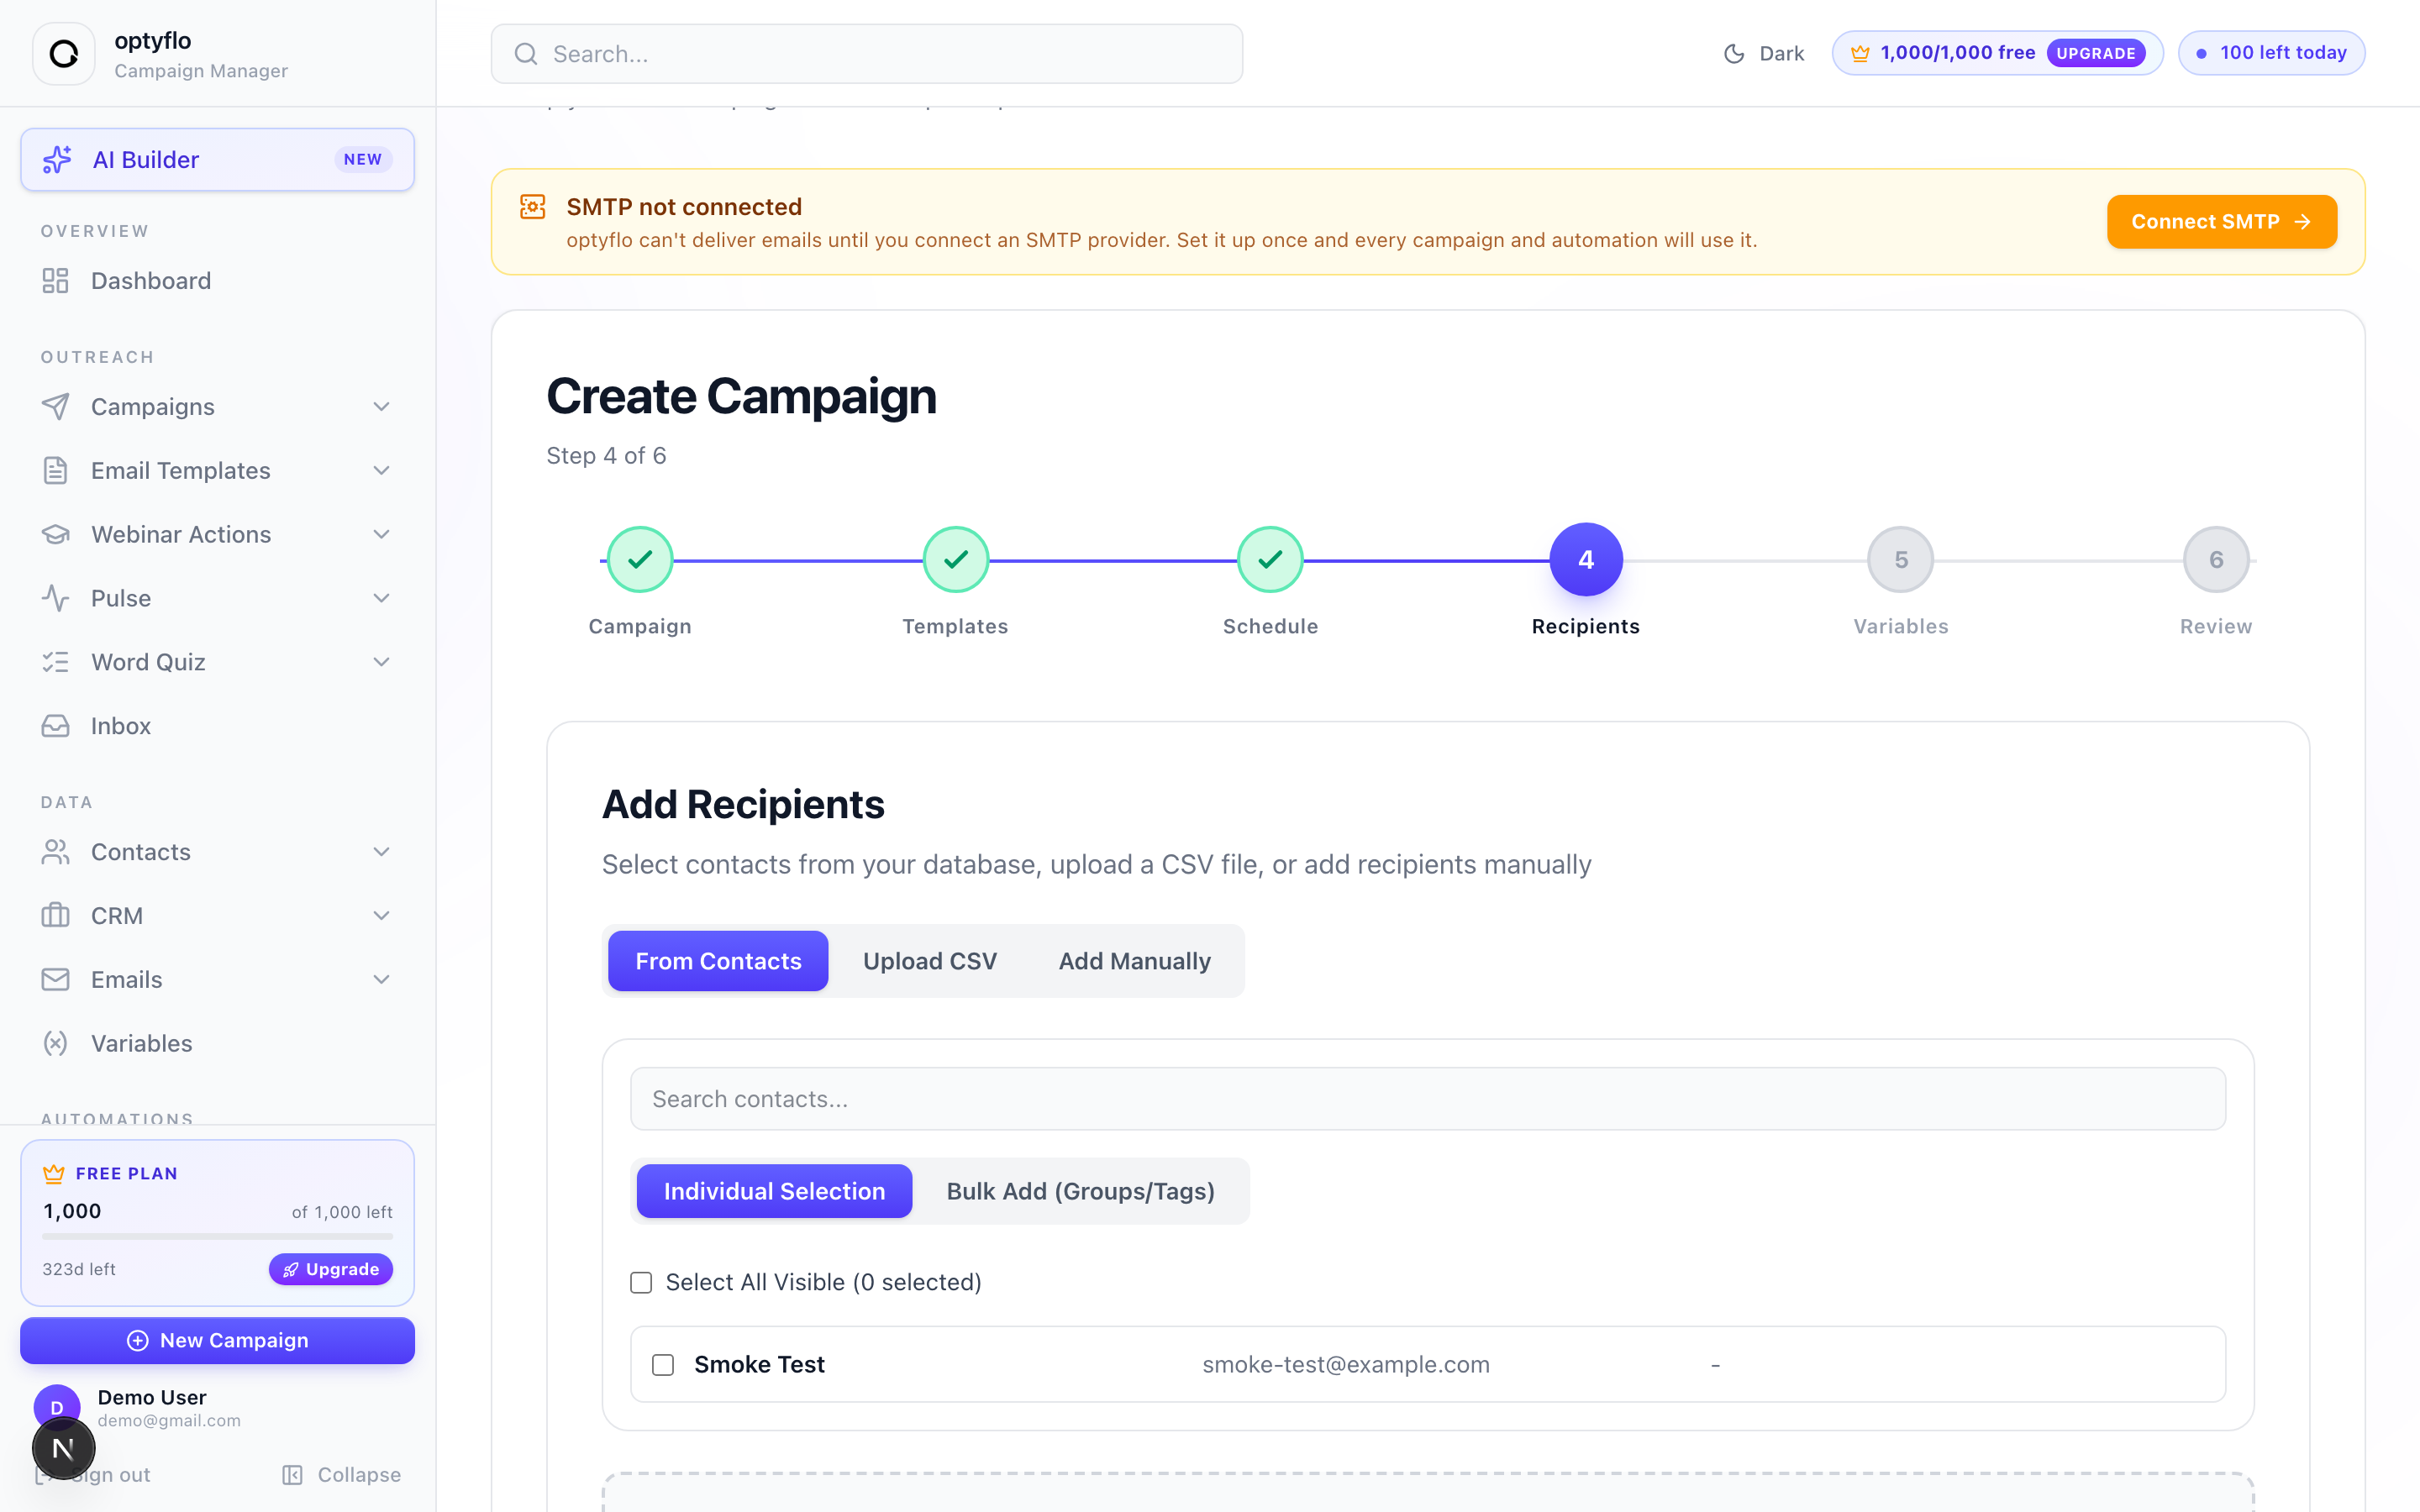 Build your recipient list from contacts, a CSV upload, or manual entry.
Click Next: Review → when your list is ready.
Step 5 — Map template variables
Control how merge tags fill in for each recipient. This step's progress label is Variables and the page is titled Map Template Variables. If your templates use merge tags, optyflo fills each one using a 3-tier fallback so no email ever arrives with a blank spot:
- Mapped Source — where the value normally comes from: a CSV column, a CRM/contact field, or a global variable.
- Fallback Value — used when the mapped source is empty for a given contact.
- Universal Default — the final catch-all when everything else is blank.
A Live Email Preview shows the result as it'll actually render, and you can send yourself a test right here to sanity-check the personalization. If your templates don't use any merge tags, you'll simply see "No custom variables found in your templates" and can move straight on.
Click Next: Review & Submit → to continue.
Step 6 — Review & submit
Give everything a final look, then schedule the send. This step is titled Review & Submit Campaign — "Review all campaign details before sending. You can edit any section or send a test email." At the top, overview tiles summarize Total Emails, Recipients, Templates, and Variables.
Per template, you can set an optional From Name (optional) and a required Subject Line *. Every section is editable from here too — use controls like Change Templates, View All, or Edit Mappings to jump back without losing your place.
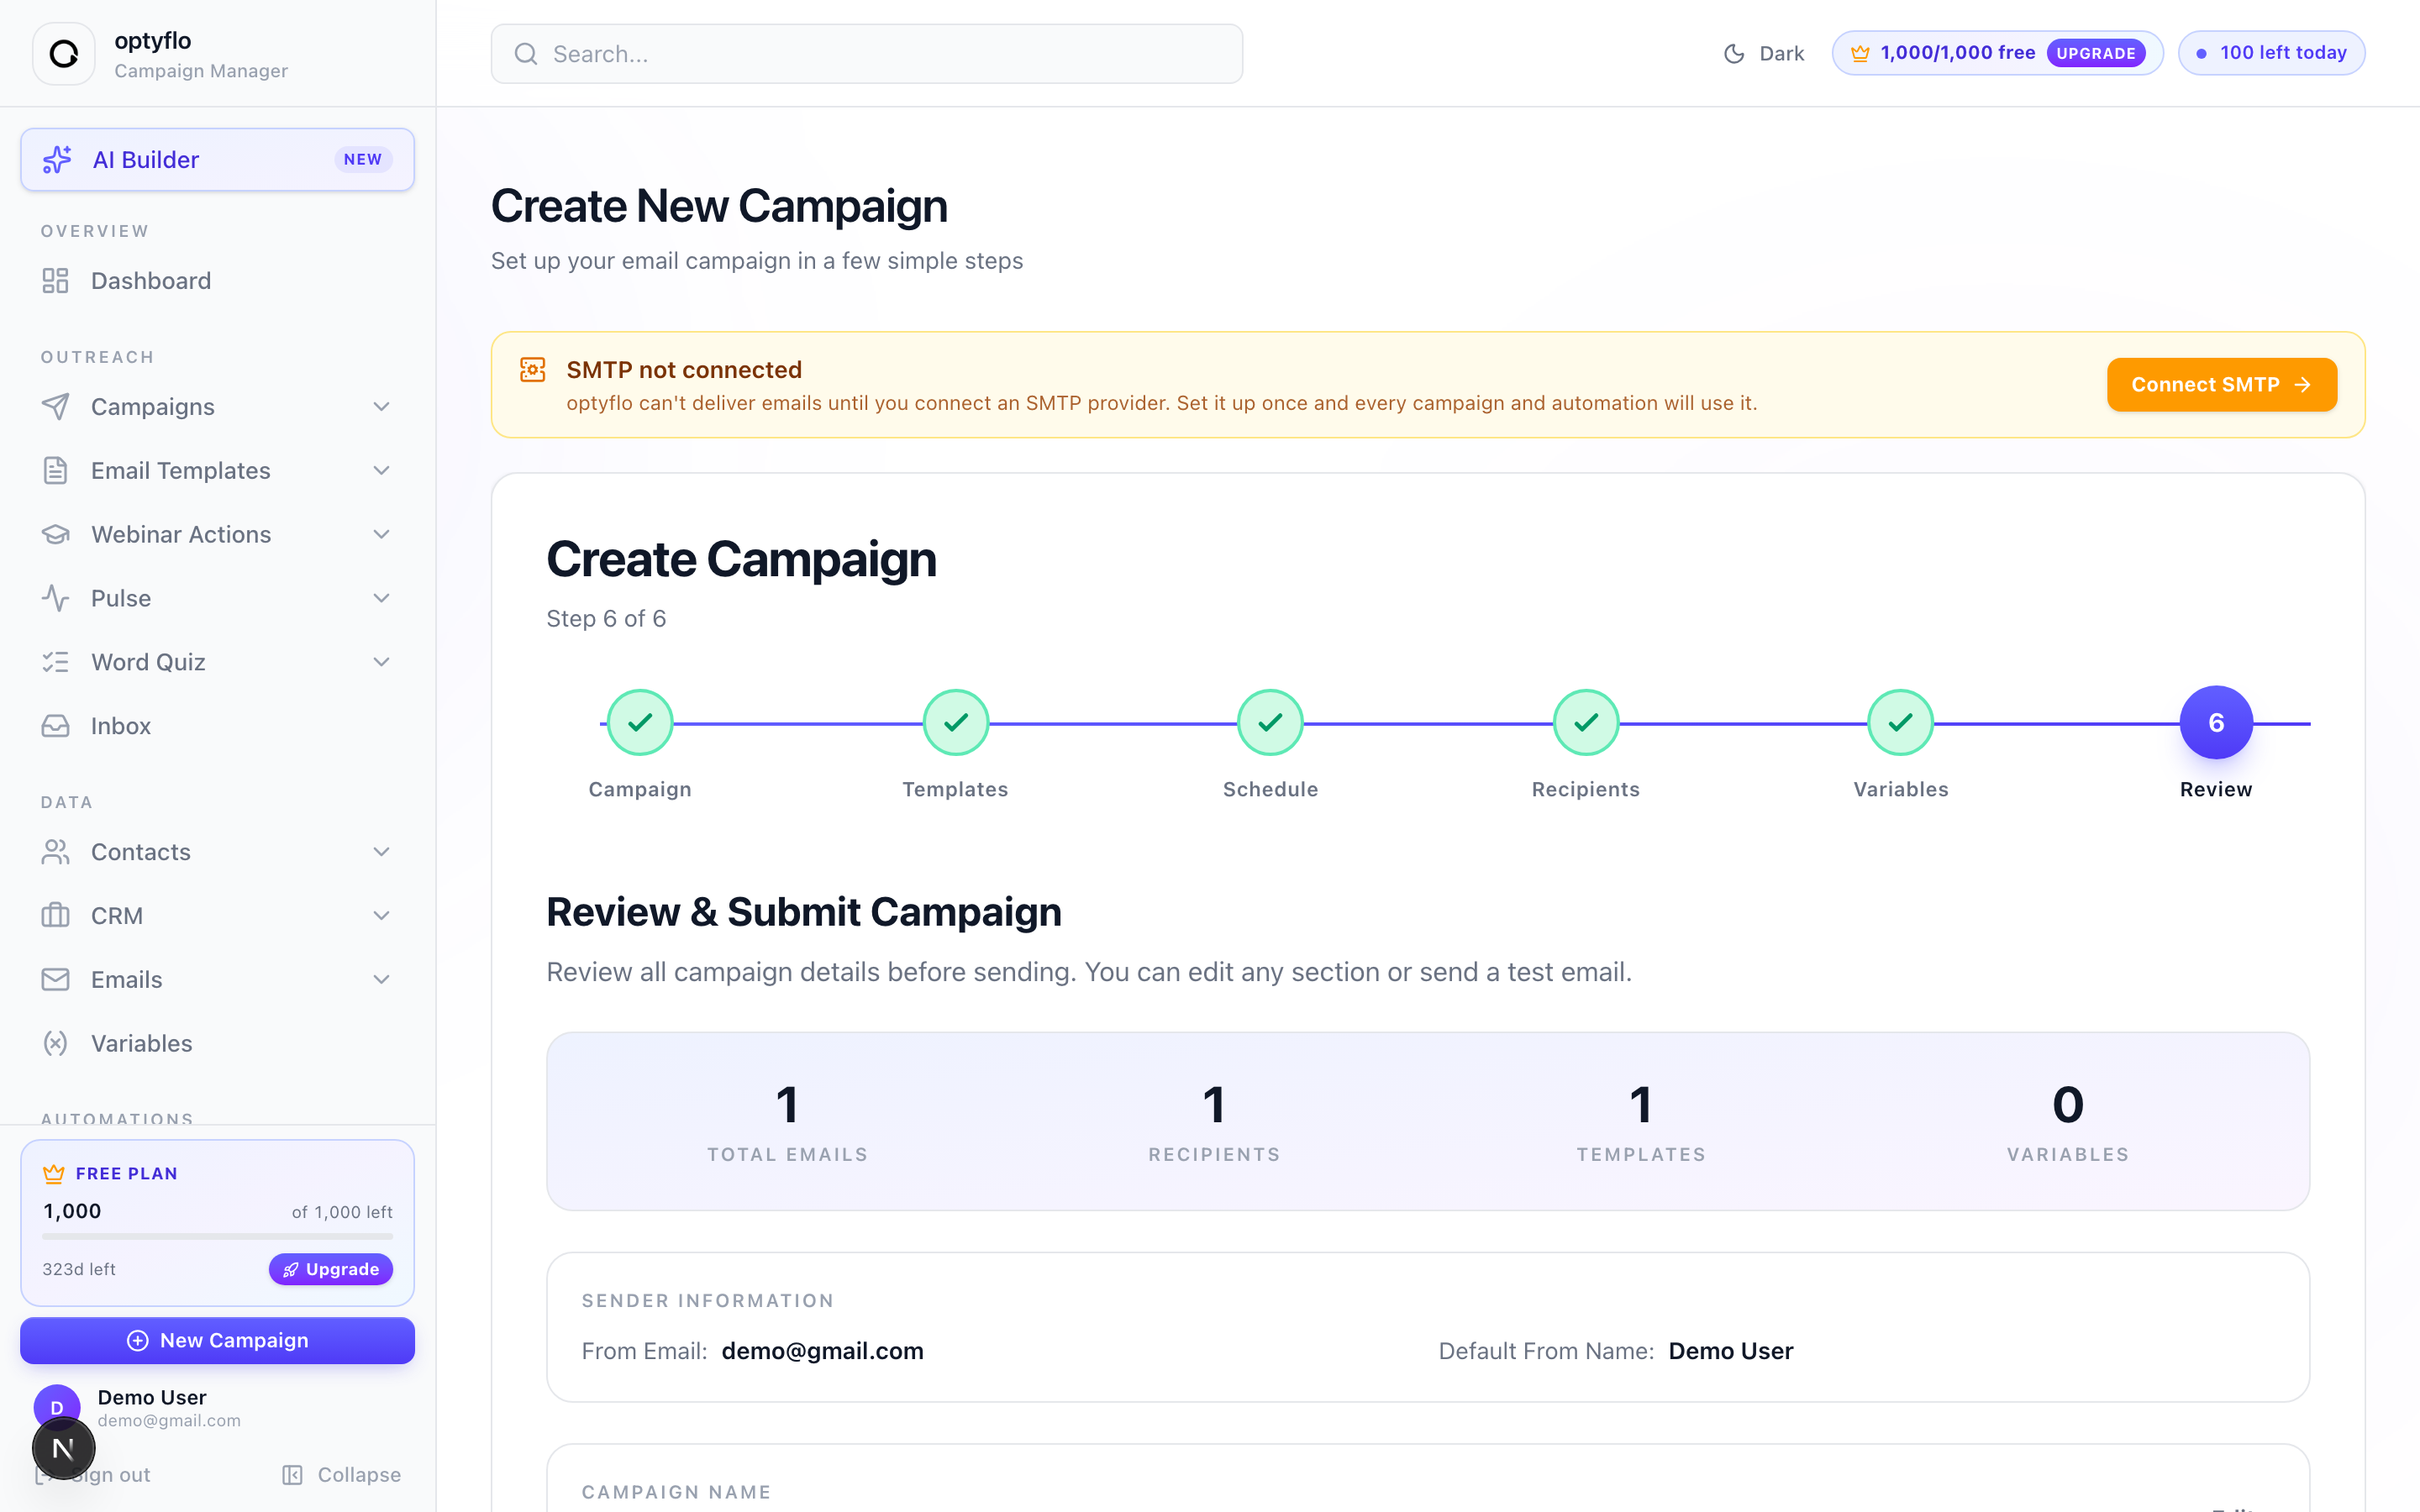 Review the overview tiles, set subject lines, and edit any section before scheduling.
Test before you commit
Click Send Test Email (available here and in Step 5) to receive a real, fully personalized copy of the send before it goes to your whole list.
When everything looks right, click the primary button — it reads Schedule N Email(s) (for example, Schedule 250 Emails). It shows Submitting... while it works, then Campaign Submitted!. You'll see "Campaign submitted successfully! N emails scheduled." and land on your campaigns list at /client/campaigns (My Campaigns), where you can monitor delivery, opens, and clicks. That list has channel tabs — All, Email, and WhatsApp — and, when empty, prompts you with "No campaigns found" and a Create Campaign button.
Next: make your outreach run on its own → Build an automation.