

Logging in & the dashboard
Signing in takes you to the dashboard, your home base in optyflo. This page walks you through the login screen and then gives you a guided tour of everything on the dashboard, so you know where each feature lives before you start.
No account yet?
You'll need an optyflo account to sign in. You can create one free from the login screen — the free plan includes 1,000 lifetime emails.
Step 1 — Sign in
Go to optyflo.com and click "Sign In". This opens the login page (you can also go straight to /login). Enter the Email address and Password for your account, then click Sign In.
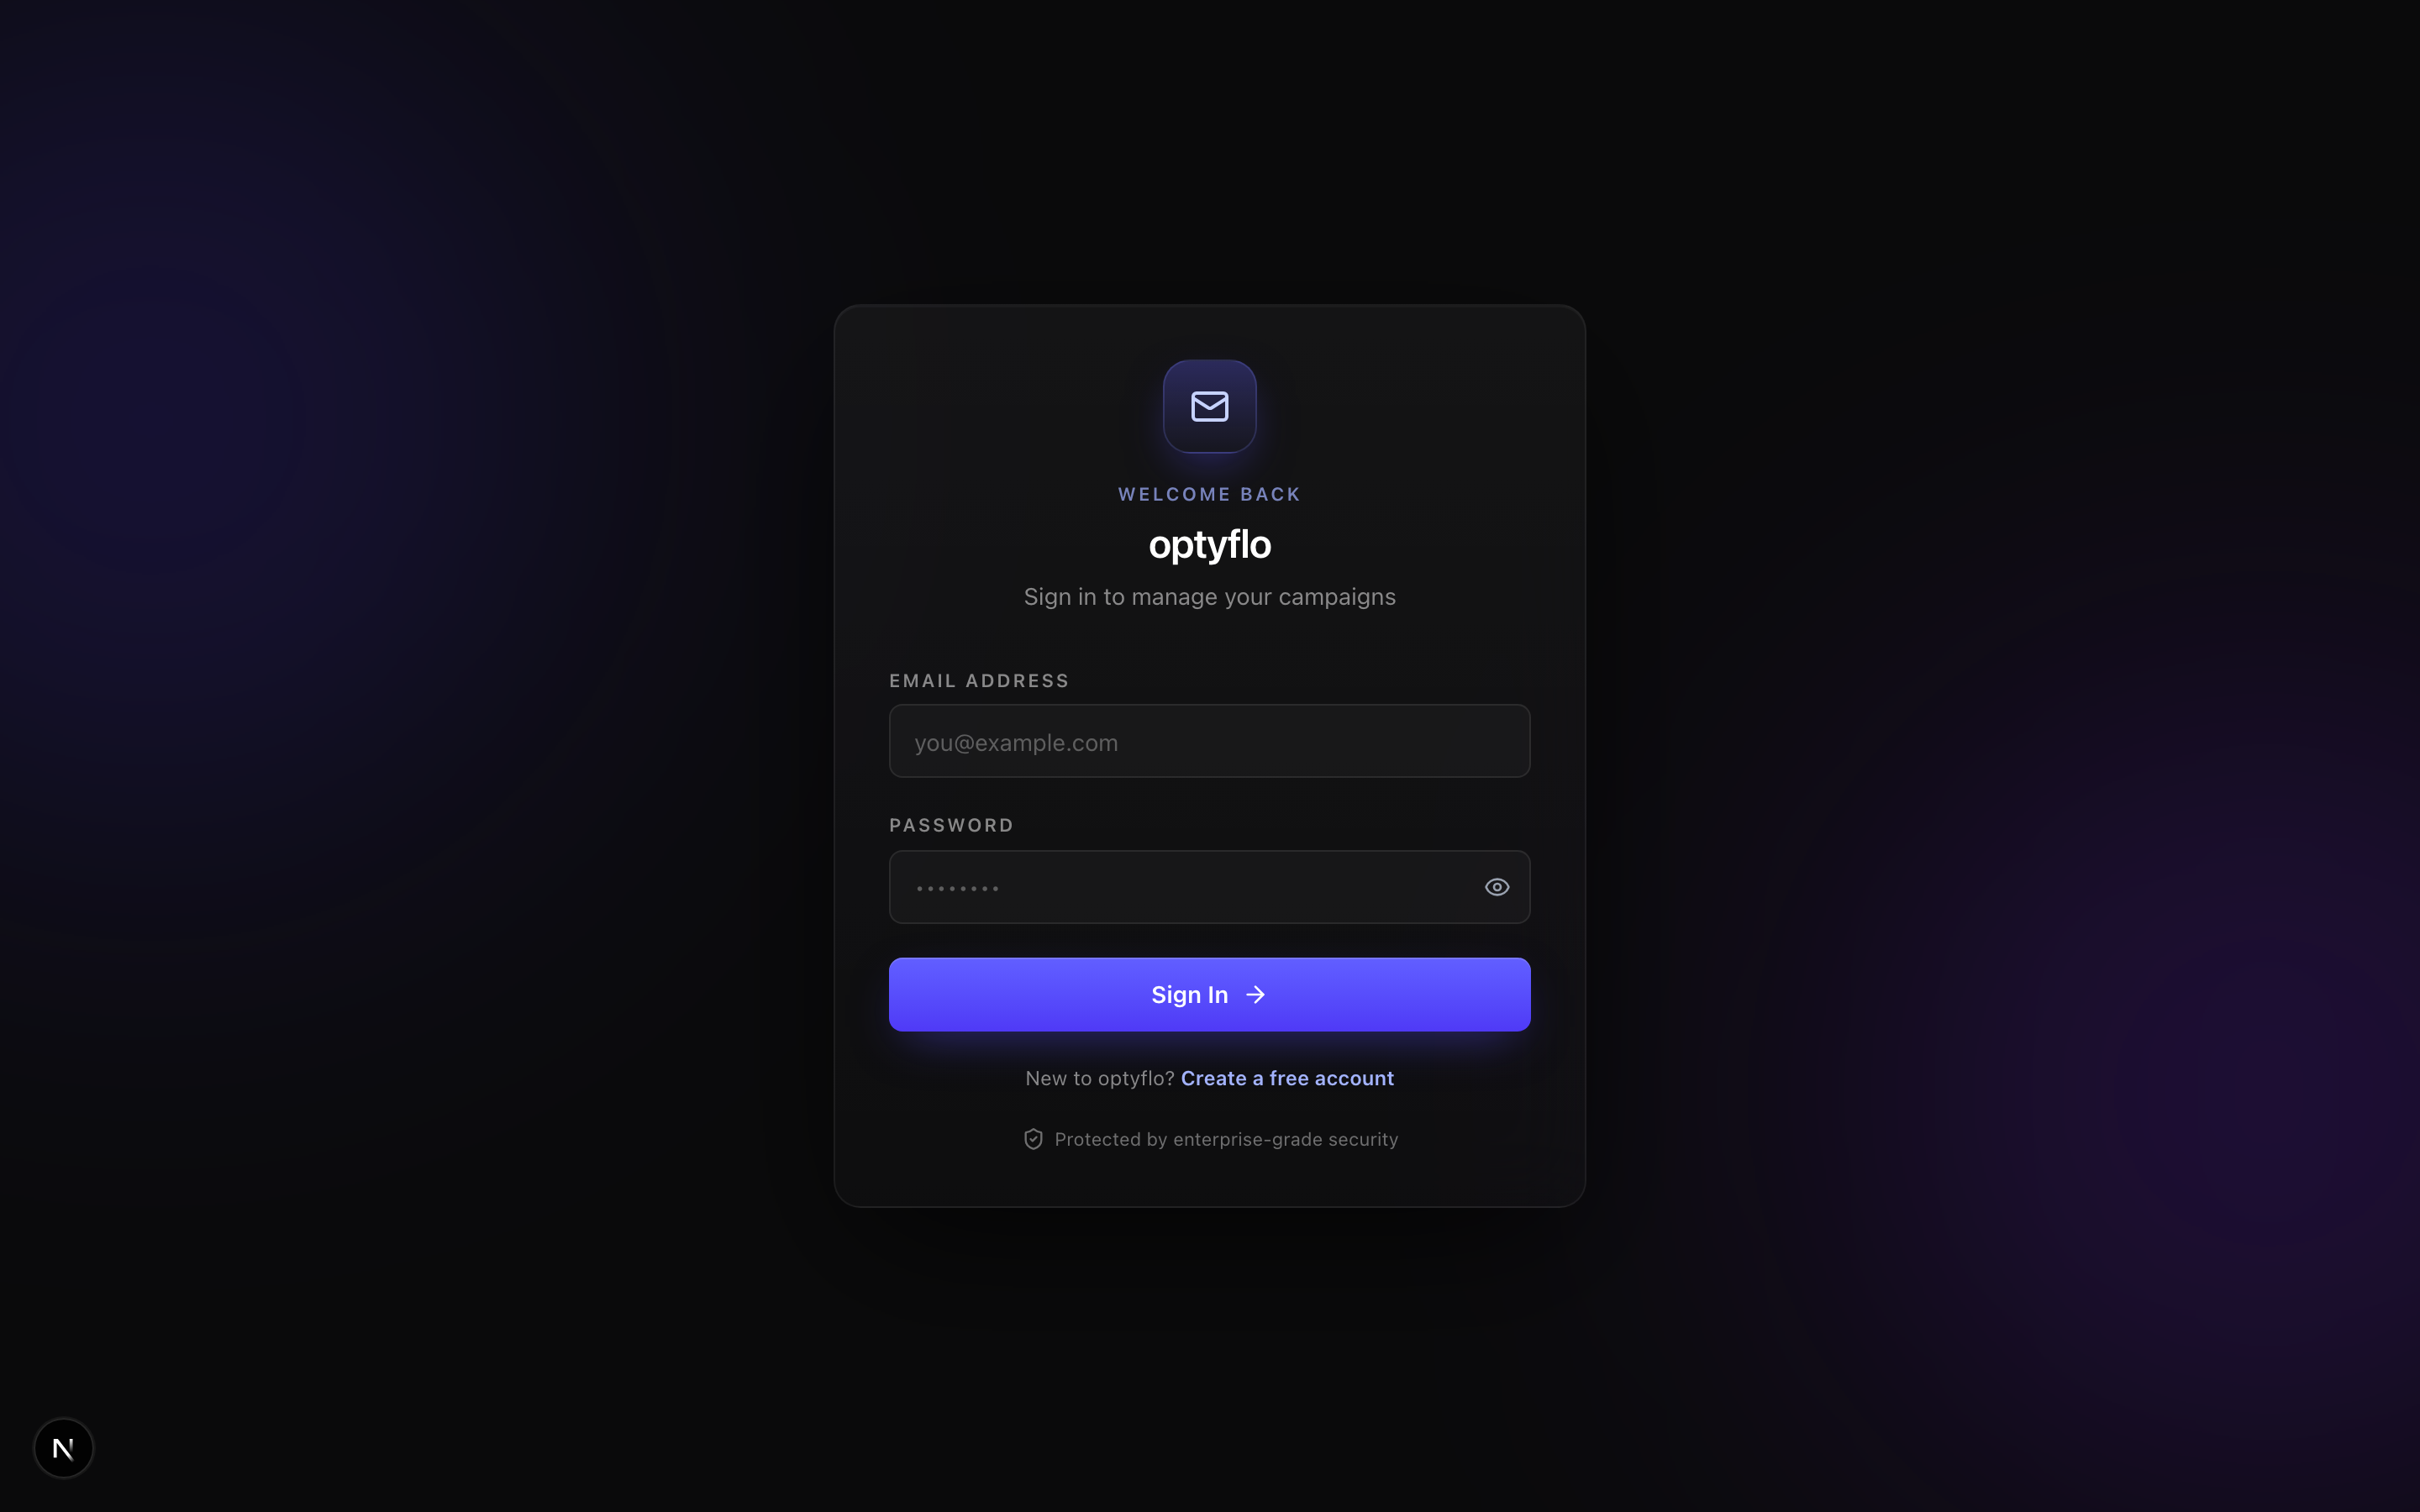 The optyflo sign-in screen, with the Email address and Password fields and the Sign In button.
If you don't have an account yet, click Create a free account to head to /signup. The free plan gives you 1,000 lifetime emails to get started.
Step 2 — Land on the dashboard
After signing in you arrive at the dashboard (route /client). This is where you'll start every session. At the top sits a setup checklist that walks you to your first send, and below it your plan usage and campaign overview.
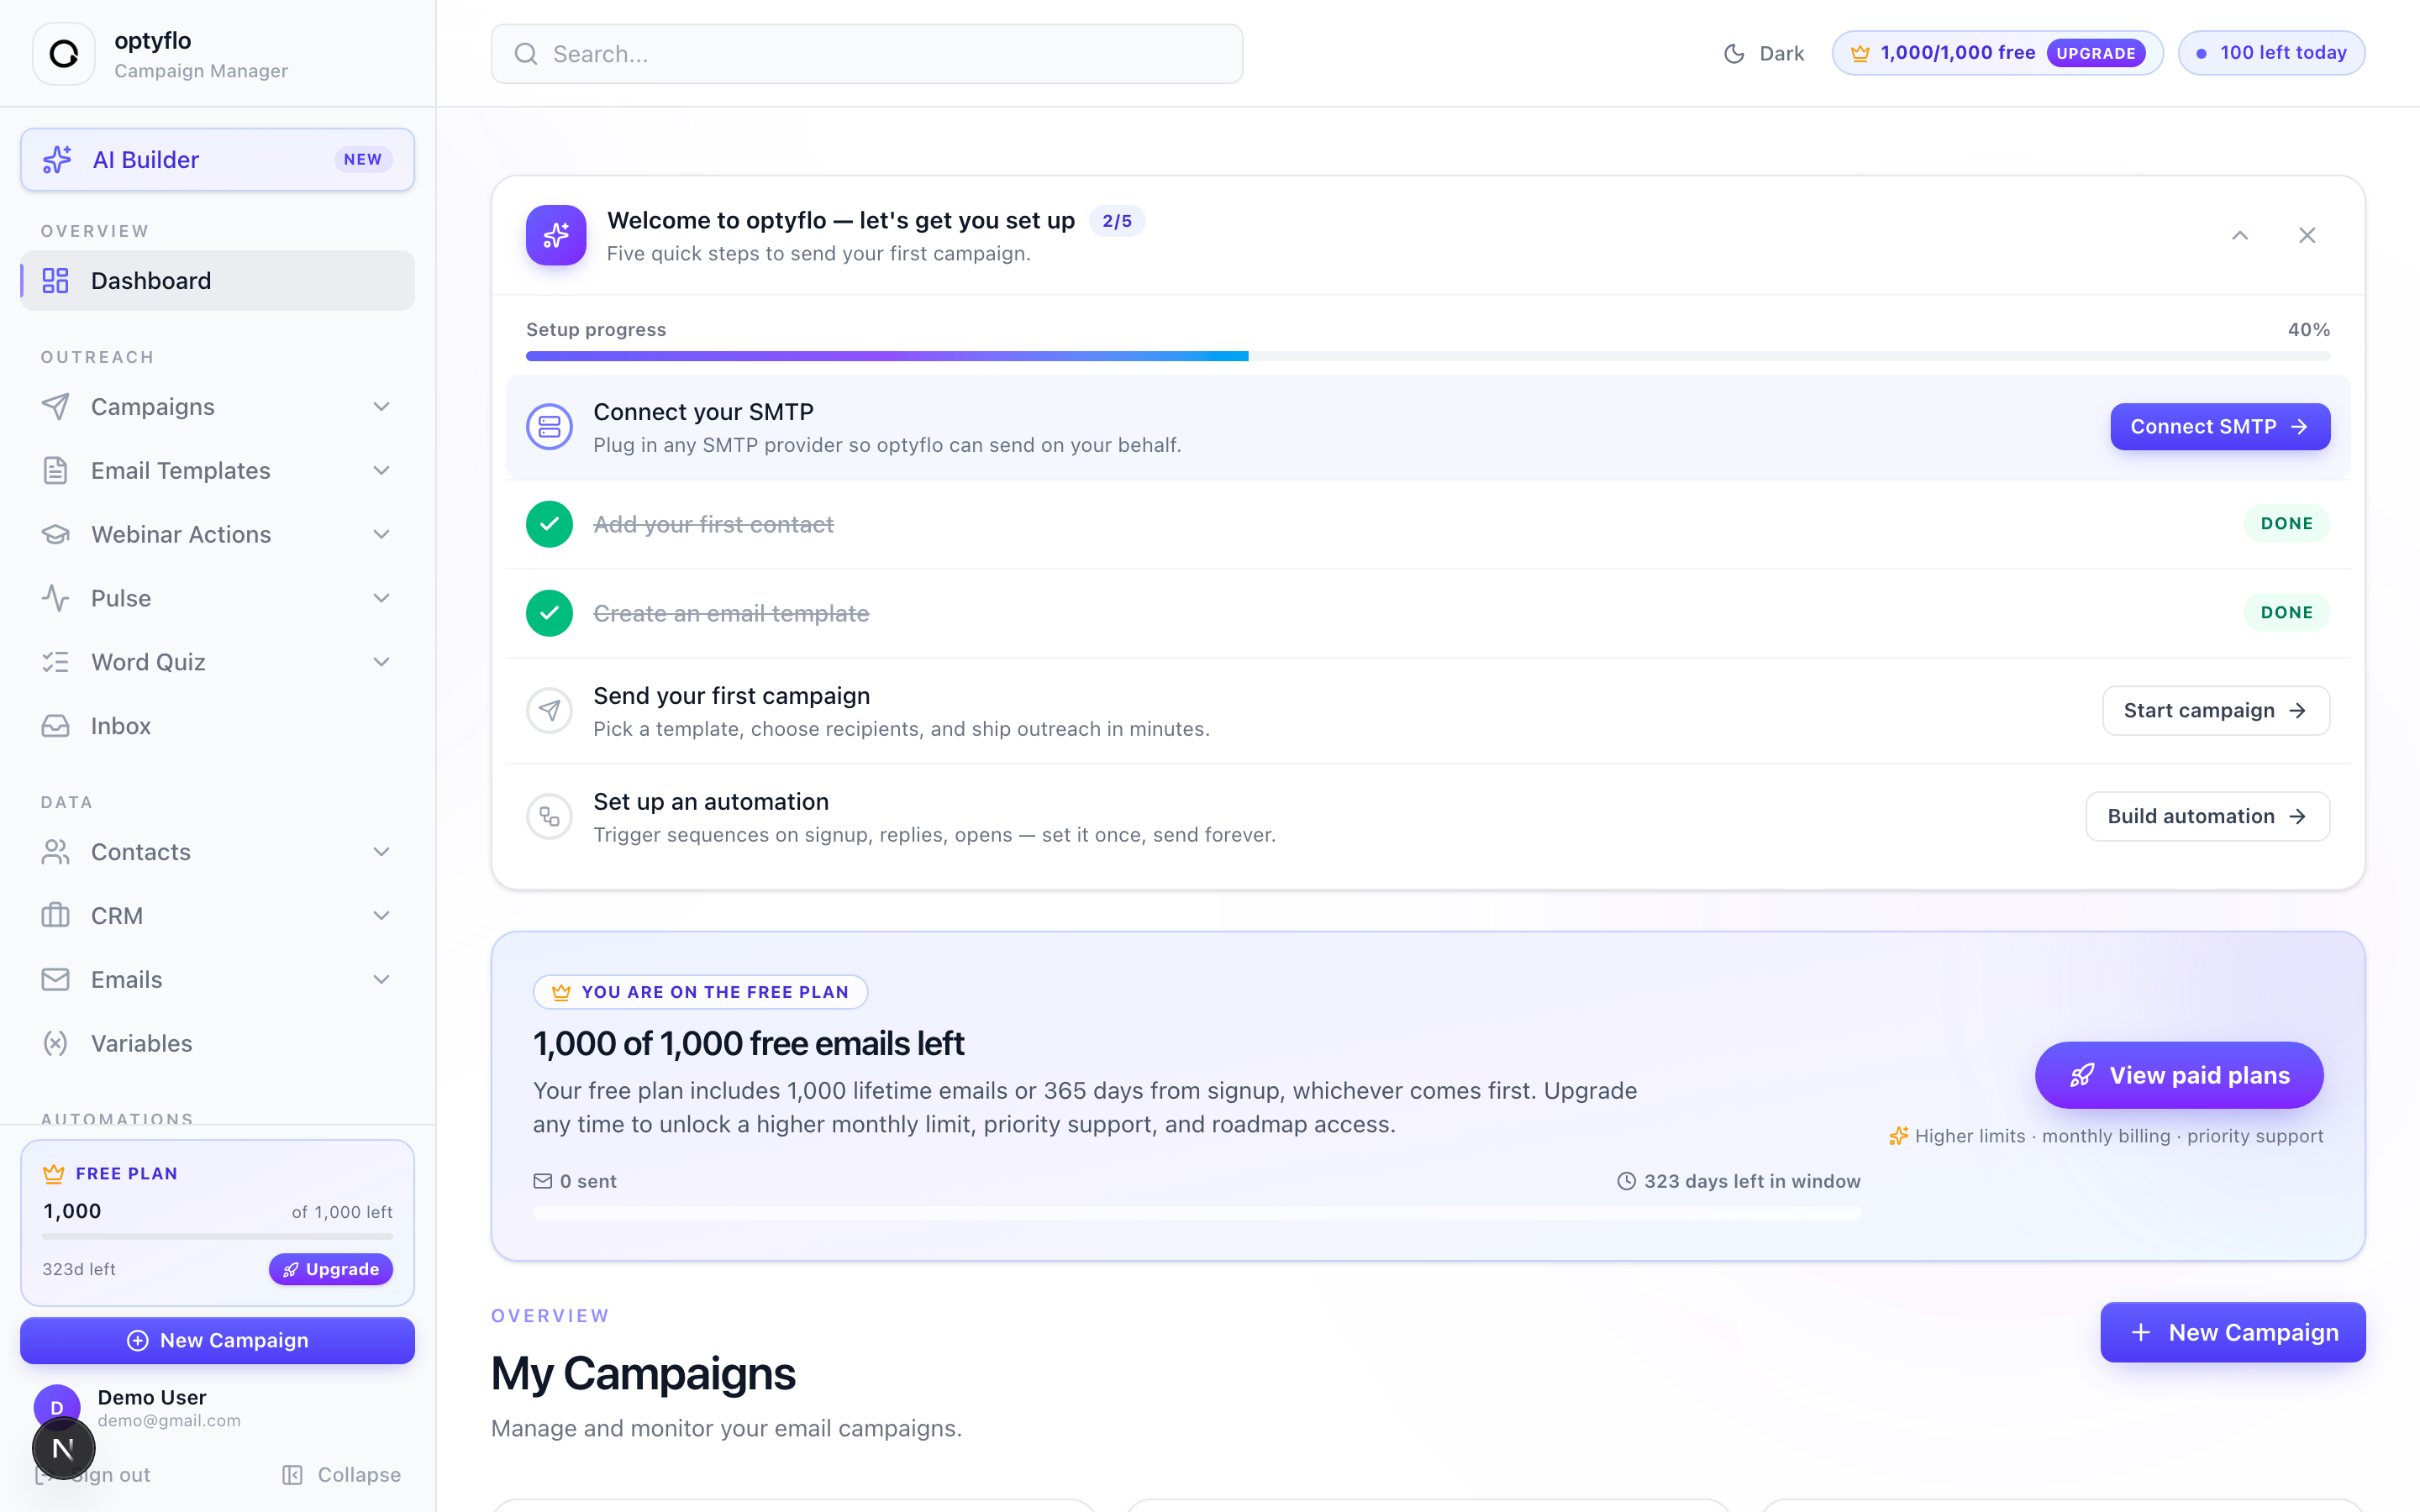 The dashboard: the "let's get you set up" checklist at the top, with plan usage and campaigns below.
Step 3 — Learn the sidebar
Use the left sidebar to navigate every feature. It's grouped into sections so related tools sit together:
| Section | Items |
|---|---|
| Overview | Dashboard |
| Outreach | Campaigns, Email Templates, Webinar Actions, Pulse, Word Quiz, Inbox |
| Data | Contacts, CRM, Emails, Variables |
| Automations | Automations |
| Settings | (account and provider settings, including SMTP) |
Your sidebar reflects your plan
Some items appear only when the matching feature is enabled for your account, so you may see more than the list above — for example WhatsApp or a Knowledge Base. If something in this guide isn't in your sidebar, that feature likely isn't turned on yet.
At the very top of the sidebar is an AI Builder button with a New badge — a chat assistant that helps you design and edit automations.
Step 4 — Read the top bar
Check the top bar for search and your sending limits. It carries a global search, a light/dark theme toggle, a plan usage pill, and a daily send-quota pill that shows how many sends you have left (for example, 100 left today). The quota pill is worth a glance before a big campaign.
Step 5 — Work through the setup checklist
Follow the checklist card to reach your first send. It's titled "Welcome to optyflo — let's get you set up" with the subtitle "Five quick steps to send your first campaign." A Setup progress bar shows your completion percentage, and a green Done badge appears on each step as you finish it. Every step has a CTA button that drops you exactly where the work happens:
| # | Step | What it does | CTA |
|---|---|---|---|
| 1 | Connect your SMTP | Plug in any SMTP provider so optyflo can send on your behalf. | Connect SMTP → SMTP settings |
| 2 | Add your first contact | Import a CSV or add a contact manually — campaigns need recipients. | Add contacts → import contacts or add manually |
| 3 | Create an email template | Use the visual builder, AI generator, or pick a starter. | Create template → Email Templates |
| 4 | Send your first campaign | Choose a template and recipients, then send. | Start campaign → new campaign |
| 5 | Set up an automation | Trigger sequences on events, then let them run. | Build automation → Automations |
SMTP gates the rest
Step 1 is the prerequisite for everything that sends — connect your SMTP first, or campaigns and automations won't deliver.
Collapse or dismiss the checklist
The collapse and dismiss controls sit in the checklist card's top-right corner. Tuck it away whenever you like — the card auto-hides once all five steps are complete.
Step 6 — Scan your plan and campaigns
Look below the checklist for your plan usage and campaign overview. A plan/usage card shows how much of your allowance you've used, and a My Campaigns overview surfaces recent campaign activity once you start sending.
Next: Connect your SMTP →